Building the cloud in layers
One layer of fibre showed its lights. The rebuilt cloud has four: a diffuser, thick wadding, mesh and pulled cotton.
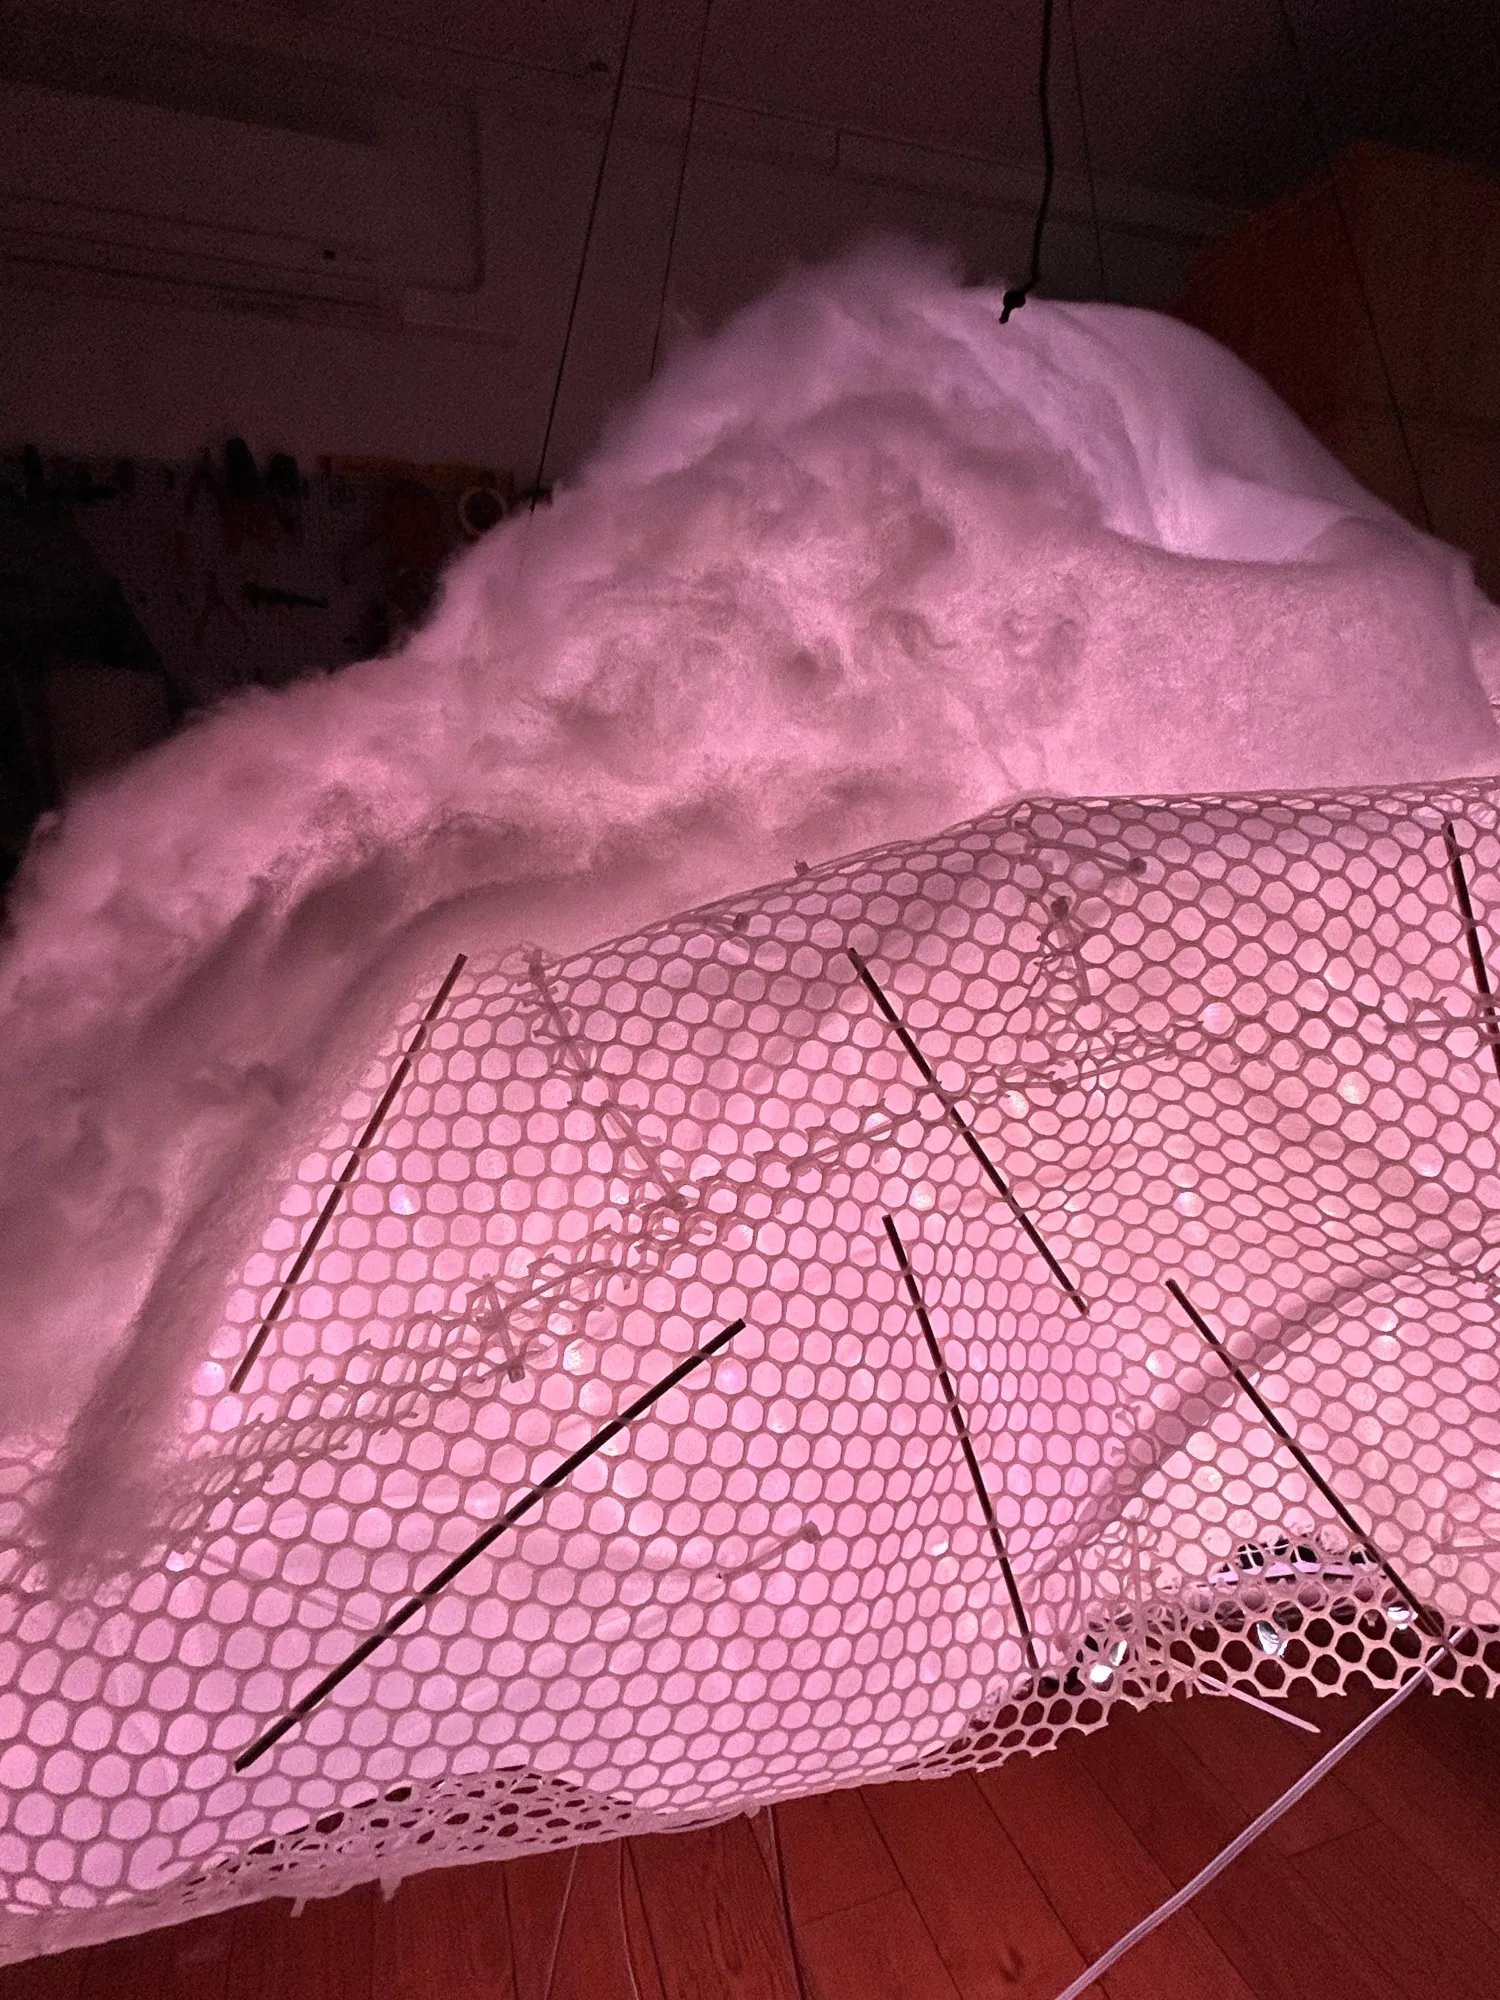
Why we changed the pilot
There were several problems with the pilot approach of pulling cotton through the mesh:
- It added non-uniformity to the density of the cotton as a diffusion material. I felt this might affect the lightning effects across the cloud, though perhaps we don’t work at a density of LEDs where this matters.
- It created a particular texture of bunched-up cotton, instead of the flowing cotton sheets I preferred.
- The cloud was large enough that it was hard to reach into the mesh to pull the cotton through. We used sticks to finish off the job by pushing the cotton through, but this was even more bunched up than pulling it through.
- Any holes or thinner parts of the cotton might show bare LEDs through them.
- The cotton would sometimes fall out and be hard to put back in.
As a consequence, I wanted to separate out the basic diffusion properties from the texture, and apply them in a way that could be transported better.
The new layers
Each layer softens the light a little more, so that hundreds of points become one glow. The layer-by-layer diagram shows the finished order.
From the outside in:
Cotton
The outermost layer and the one you see. Laying it flat, rather than pulling it through as in the pilot, lets it keep its wavy, flowing texture.
Polyester fleece wadding
A layer of wadding under the cotton. It gives the cloud a basic fluffy body and softens the light on the way out without being too dense. It can also easily be zip-tied to the surface of the mesh so it stays in place, and it’s thin enough to hug the surface of the mesh well.
Moreover, it’s close enough to the cotton in colour and texture to serve as a background for it. That way the cotton can act more as a texture than as a cover for the internals of the cloud or as a diffusion material (though it still does that).
It’s also “sticky”, in that we can lay cotton onto it and it more or less stays in place without having to zip-tie it to the wadding. This works for the top of the cloud, at least.
White mesh
The same mesh as before. I ended up removing the skewers that added rigidity and relied on more zip ties instead, as the skewers blocked the light going through them. I hadn’t spray-painted them white either, which made them more likely to show on the outside.
Nylon diffuser fabric
The first thing the light meets. It spreads each point of light out before it reaches the wadding, so no single LED shows through as a hot spot. I added it on the inner side of the mesh so that I could zip-tie the wadding to the outer side.